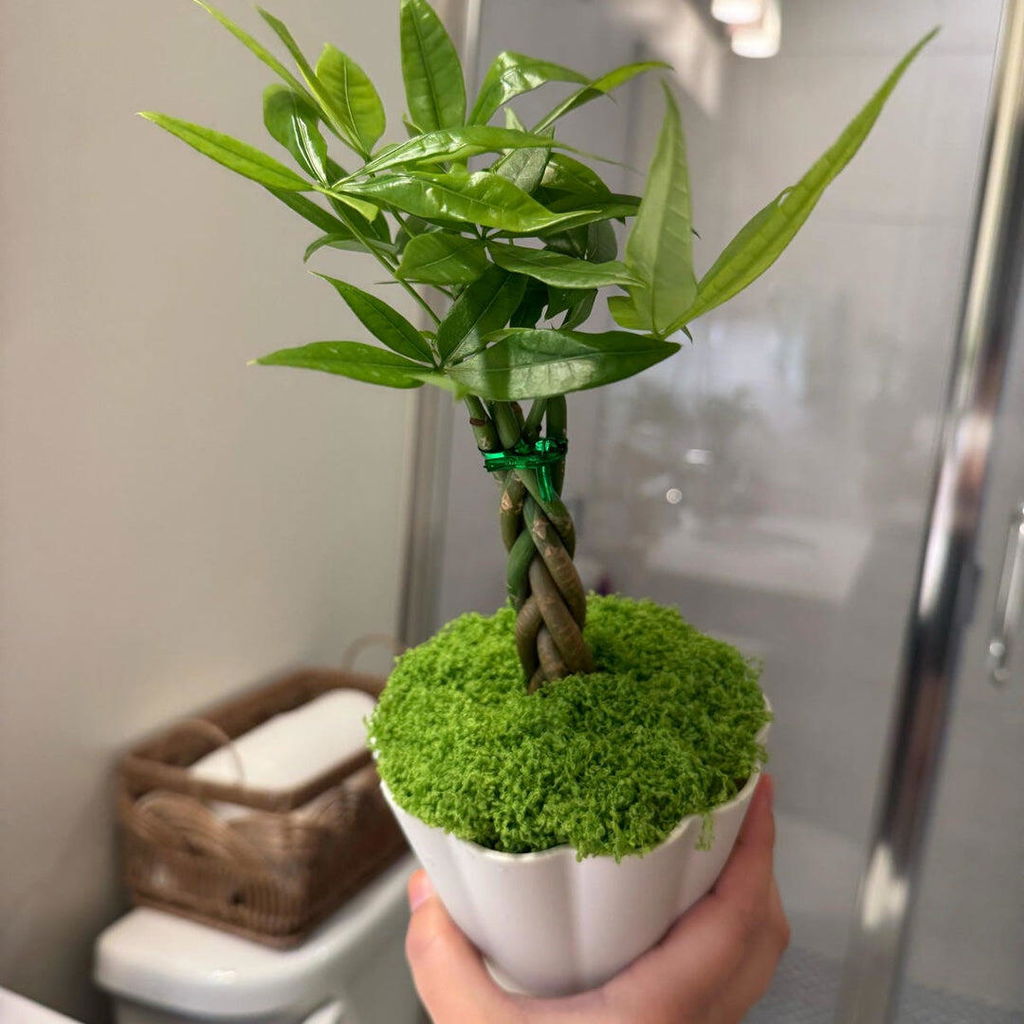
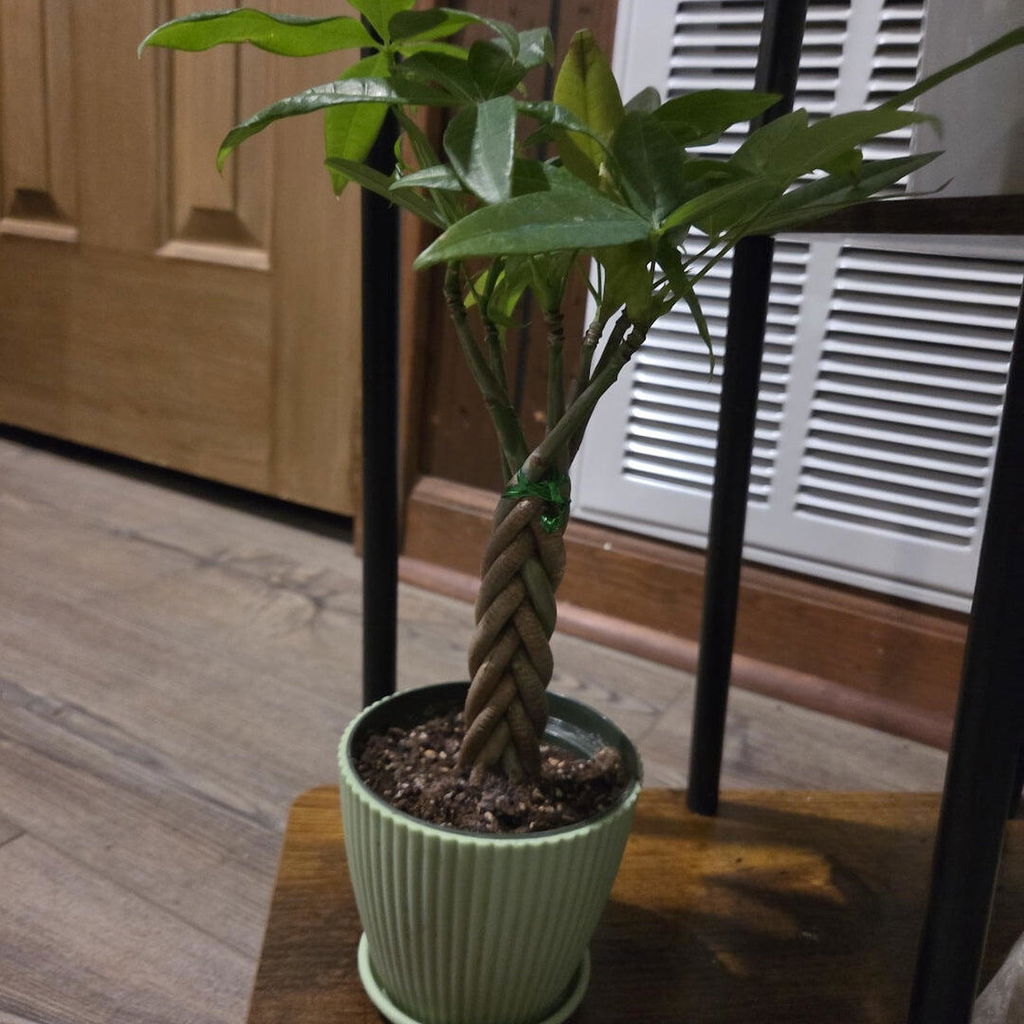
The Money Tree, or Pachira aquatica, is more than just a charming houseplant; it's a resilient companion known for its elegant braided trunk and lush, radiating foliage. Its reputation for being low-maintenance is well-deserved, but even the hardiest plants have certain non-negotiable needs. One of the most critical, yet often intimidating, aspects of long-term Money Tree care is repotting. Knowing when and how to repot is not merely a horticultural task—it's an act of stewardship that ensures your plant continues to thrive and grow for years to come.
Many plant owners hesitate, fearing they might disturb their plant's delicate equilibrium. However, repotting, when done correctly and at the right time, is a proactive measure to prevent decline and encourage vibrant health. This comprehensive guide will demystify the entire process. We will explore the subtle and not-so-subtle signs that your green companion is ready for a new home, identify the optimal season for this transition, and walk you through a step-by-step, professional-grade repotting technique.

1. How Do I Know It Is Time to Repot My Money Tree?
A Money Tree will rarely announce its need for repotting with dramatic flair. Instead, it communicates through a series of subtle cues. Learning to interpret these signals is the first step toward advanced plant care.
The most definitive sign is root-bound conditions.
Gently slide the entire root ball out of its current pot. If you observe a dense web of roots circling the outer edge of the soil or forming a tight mat at the bottom, the plant has exhausted the available space. In severe cases, the roots may be so constricted that they have taken the shape of the pot itself. This root congestion limits the plant's ability to absorb water and nutrients, effectively stunting its growth.

Stunted growth or a top-heavy appearance is another key indicator.
If your Money Tree has produced little to no new leaves during its primary growing season (spring and summer), despite receiving adequate light and fertilizer, it may have no more room for root expansion, which is a prerequisite for top growth. Similarly, if the plant becomes disproportionately large and unstable, frequently tipping over, it's a clear sign that the root system has outgrown its container and can no longer provide a secure anchor.
Watering difficulties can also point to a need for repotting.
When the root mass becomes too dense, water may rush down the sides of the pot and out the drainage hole without ever truly saturating the root ball. Conversely, a pot that is predominantly filled with roots and very little soil will hold less water, causing the plant to wilt much more quickly than usual. Finally, if you notice a significant accumulation of white, crusty deposits on the soil surface or the pot's rim, it indicates a buildup of soluble salts from fertilizers and tap water. This can alter soil chemistry and harm the roots, and repotting with fresh soil provides a clean slate.

2. When and How to Do Repotting Work?
Understanding the "when" and the "how" of repotting is a synergistic process. The timing sets the stage for success, while the technique ensures a smooth and stress-free transition for your plant.
The Golden Window: When to Repot
Timing is everything in plant care. The ideal period to repot your Money Tree is during its active growing season, which spans from late spring to mid-summer. During this time, the plant is in a state of vigorous growth, with heightened metabolic activity that allows it to quickly recover from the stress of repotting and rapidly establish itself in its new environment. The abundant sunlight and warmer temperatures support robust root development.

It is strongly advised to avoid repotting during the late fall and winter months. As daylight diminishes and temperatures drop, the Money Tree enters a semi-dormant or dormant state. Its growth slows significantly, and its ability to repair root damage and acclimate to new soil is greatly reduced. Repotting during this period can lead to shock, root rot in the cold, damp soil, and a prolonged period of decline.
A Step-by-Step Guide to Repotting
Once you have identified the need and the season is right, you can proceed with confidence. Gather your materials:
- A new pot that is only 1-2 inches larger in diameter than the current one.
- The fresh, well-draining potting mix.
- Use clean pruning shears or scissors.
- A workspace you don't mind getting dirty.

Step 1: Preparation is Paramount.
Begin by preparing your new pot. If it does not have a drainage hole, select one that does. Cover the drainage hole with a small piece of mesh or a pottery shard to prevent soil from washing out. Add a shallow layer of fresh potting mix to the bottom of the new pot. A high-quality, peat-based potting mix amended with perlite and orchid bark is ideal for providing the aeration and drainage that Money Trees crave.
Step 2: The Gentle Extraction.
Water your Money Tree lightly about 24 hours before repotting. This hydrates the roots, making them more flexible and less prone to breakage, and helps the root ball hold together. To remove the plant, do not pull on the trunk. Instead, tilt the pot sideways, gently grasp the base of the plant, and carefully coax it out. You may need to tap the sides of the pot or run a knife around the interior edge to loosen it.

Step 3: The Root Health Inspection.
With the root ball exposed, this is your opportunity to assess the plant's foundation. Gently loosen the outer roots with your fingers. Inspect the root system carefully. Using your sterilized shears, prune away any roots that are black, mushy, slimy, or smell foul—these are signs of root rot. If the roots are tightly wound, you can make a few vertical cuts along the sides of the root ball and tease them apart to encourage them to grow outward into the new soil.

Step 4: Positioning and Filling.
Place your Money Tree in the center of the new pot. The top of the old root ball should sit about an inch below the rim of the new pot to allow for watering. Add or remove soil from the bottom as needed to achieve the correct height. Once positioned correctly, begin filling in the spaces around the root ball with your fresh potting mix. Gently firm the soil as you go to eliminate large air pockets, but avoid compacting it too tightly.

Step 5: The Initial Hydration.
After the soil is in place, give your newly potted Money Tree a thorough, deep watering. Continue until water flows freely from the drainage hole. This step, known as "settling in," helps the new soil make contact with the root system. Allow all excess water to drain away completely. Do not let the plant sit in a saucer of water.

Step 6: Post-Repotting Care.
Place your Money Tree in a location with bright, indirect light and shelter it from direct sun for about a week. It is normal for the plant to appear slightly wilted or stressed as it focuses its energy on root establishment. Withhold fertilizer for at least 4-6 weeks to allow the new roots to settle without the risk of chemical burn. Resume your regular care routine once you see signs of new growth, which indicates a successful transition.
Repotting your Money Tree is not a chore to be feared, but a rewarding ritual that strengthens the bond between you and your plant. By listening to its needs, respecting its natural cycle, and executing the process with care and knowledge, you are not just changing its pot—you are investing in its future vitality and ensuring it remains a centerpiece of beauty and prosperity in your home for many years to come.